Friday, April 17, 2015

Our Bedroom Remodel


It's official we have a third bedroom and I am overjoyed on how it turned out!
Don't think for a minute this was an easy process, it took us since September to complete. Especially since we were doing it ourselves. My sweet husband has worked almost every Saturday and occasionally after work during the week when he didn't have other engagements. But he did it...Just in time for golf season too! :-)

The Plans
Taking the lovely paneling off
Tearing down the wall between the sun room and laundry area
Our Helper... (I would cringe every time he would swing that hammer back!)
Bart (Blake's Dad) Helped us so much! He gave up a lot of fishing trips to come work on the room. It was greatly appreciated!
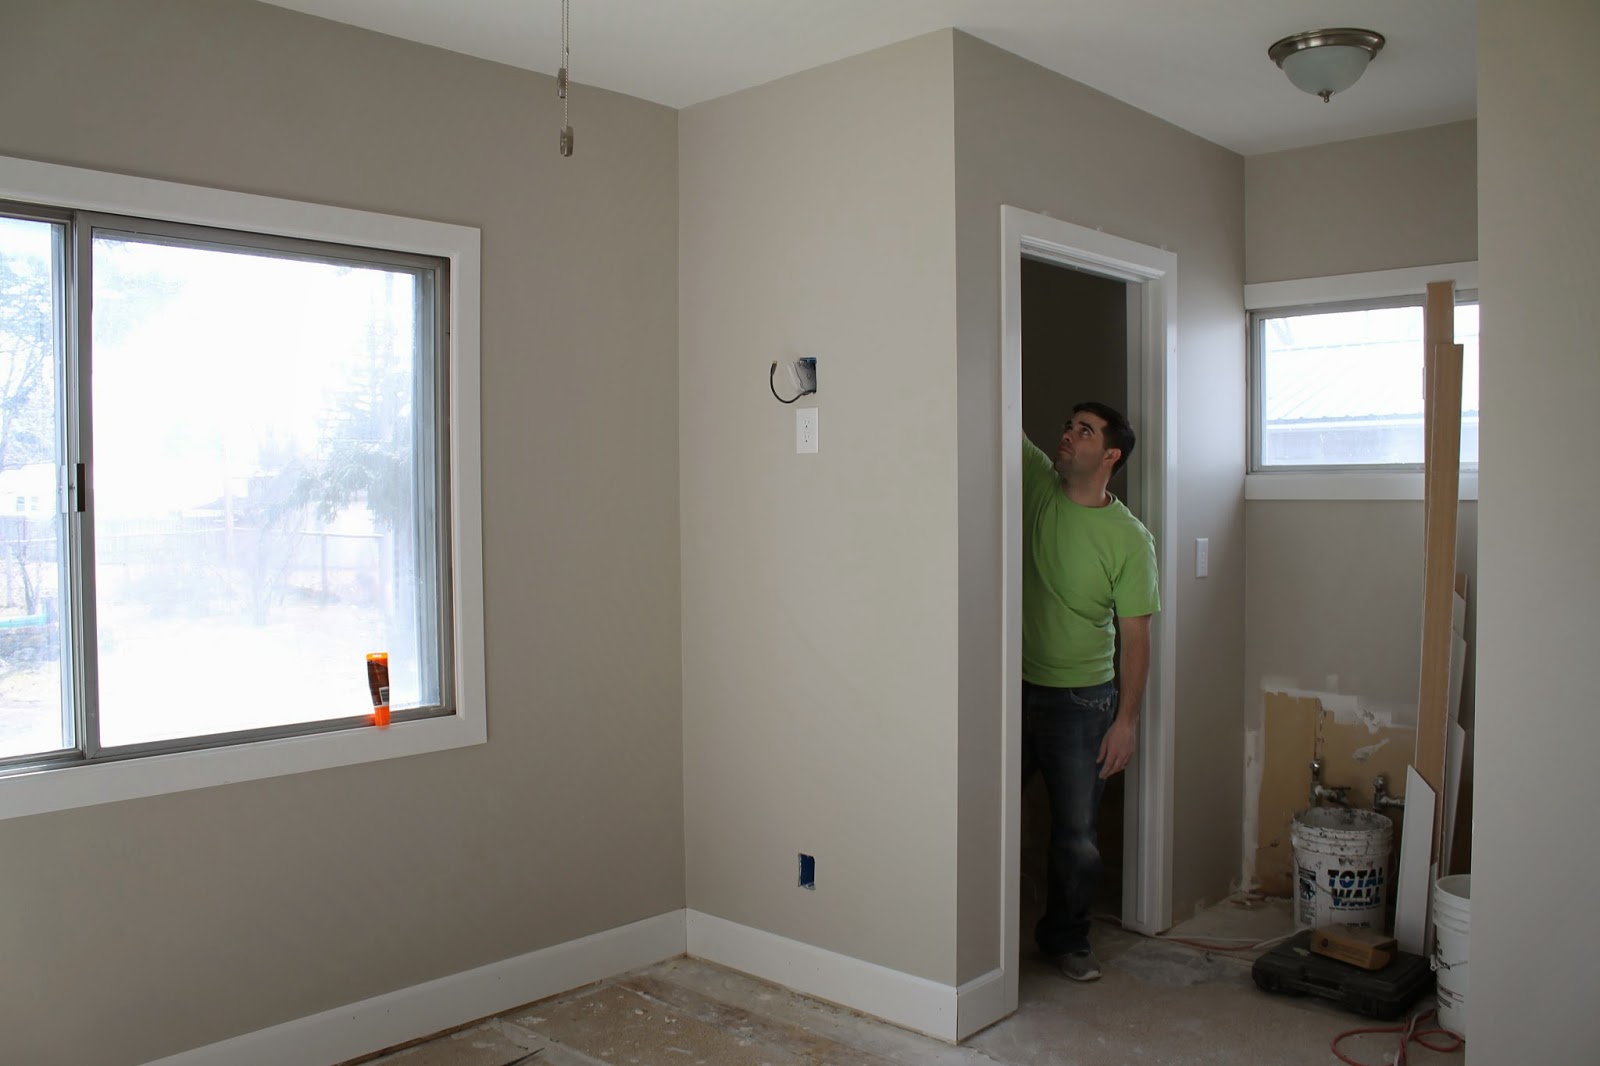
Getting the framing up
We found this door in our basement?! I absolutely love it. It was difficult for me to paint over the original wood, but I love how it turned out in the space as our closet door. To me it's like a furniture piece that compliments the look of the rest of the room.


The carpet is so warm and soft I love the tones it pulls with every thing else!


This room cost us about $3,000 to complete. This was my first big remodel I've done, and I learned a lot from it. It was so much fun to design something for us, and to bring my vision to life. Not to mention it is heavenly to have our own little oasis to come to at the end of the day.

Product Break Down:
Building Materials: $1058 (that includes; studs, drywall, electrical, plumbing, plaster, door frames, and other misc. materials)
Trim: $197
Lighting: $130 (both lights are from Lowes)
Paint: $76 (SW Worldly Gray & SW Snowbound)
Shades: $144 (Walmart.com cellular shades)
Closet (built ins): $136
Drapery and Rods: $156 (Wayfair from Walmart.com & rods from amazon)
Tile, Hardy Board & Grout: $643 (this is skewed because we bought all the materials for tiling the kitchen later, much later :-) so really we probably spent >$100 to tile that area) Tile is from Lowes; Leonia Silver Porcelin Tile $3.85 sq. ft
Carpet & pad/tack strip: $447.90 (Carpet was from Wall2Wall named soft luxury chino grey @ $2.25 sq. ft)
Vanity Area: $431 (vanity & sink are from Ikea $365, I wanted something that looked more like a furniture piece than an actual vanity, and I Loved how this turned out. The mirror is from Moen/Amazon for $48)
Bedding: I can't remember?? We bought it 6 1/2 years ago when we were first married from Bed Bath and Beyond. I'm a little embarrassed how wrinkly it is!! The brown pillows we got in China Town in San Fran and I have extra material from my curtains I am going to make pillows out of one of these days..


Friday, February 7, 2014

Before and After Pictures of the Living and Dining Room


After we bought the house we weren't able to move in for a week. We decided that the best decision for us was to get the floors refinished and walls repainted before we moved everything in. Luckily we have family close to stay with and to help out. We truly are so thankful to our families for all of the help they provided, this would have been so much more stressful if we did not have you. 


Here are the rooms furnished. Still feels a little baron though. Things to do to get these two rooms completely finished. . . 
  • Hang art and pictures
  • Buy and hang drapes
  • scrape and repaint window trim
  • put up small molding around the base moulding
  • refinish table and chairs
  • new light fixtures 
  • larger rug for living area
  • serving table for dining room
  • finish filling/decorating book cases
  • put in window seat in between book cases 
So you can look forward to lots more post on the updates as we try to finish up the living areas. 

Wednesday, February 5, 2014

Official Home Owners

It was a very long and grueling process, but as of January 15, 2014 Blake and I are officially home owners.


As you will see from the pictures we have a lot of projects on our hands, but we decided that was what we wanted; an older home we could make our mark on in some way.


The Living Room
Dining Room
Our Bedroom. (If you think that's big you should see the closet ;-))
The Bathroom. (Again, I know so much space)

Peyton's Bedroom/Nursery
Laundry Area 
Sun Room off of Kitchen

Our Kitchen. You have to love the pastel green and yellow ;-)
Another big selling point for this house for us was a rental unit in the basement.


Stay tuned for more pictures as we fix up and make this house our home. . . 

Thursday, January 9, 2014

A Swimsuit, a Pair of Jeans and a Little Ingenuity

I’m in that weird phase of pregnancy where I can’t quite fit in maternity pants yet, but normal pants are really uncomfortable (even with the hair elastic trick). I hate to admit I’ve been wearing leggings or sweats the past couple of days. . . or weeks. Judge away. Part of my issue is all the clothes I wore at this point when I was pregnant with P was in the summer, so I have lots of shorts and capris that will fit me, but no pants.


The pair of pants I have are a pair of gap jeans that fit slightly loose when I am at my normal body weight, but fit just right in the bum and thighs when I’m preggers. One of the issues I had with these jeans was the zipper completely busted on me, so I stopped wearing them for a while.


When we went swimming at green canyon a week ago I noticed my swimsuit had seen better days. The stripes were faded, the material was wearing in the chest area, so it basically looked dingy. Don’t you love when you find that out after you’re in the water?

I am so bad at taking pictures along the way and doing tutorials. Luckily, this sew chic blog  tutorial that I used gives great directions on how to change your normal jeans into maternity jeans.

A few of the changes that I made:
  • I used swimsuit material instead of jersey knit fabric.
  • It looked as though her jean’s waste was a little higher than mine, so I only cut the front section of my jeans and left the back. Where she cut up to the back belt buckle.
  • I put my 2” elastic band between the swim material and the lining of the suit.


I loved how these turned out. The only big issue with them is I did make the tube part a little tight. It will grow with me, but I will only be able to wear them for I’m guessing two more months. I’m sure by then I will be in maternity pants. Besides that, they are very comfortable. These will be called my transitional maternity pants, and will probably work well after baby is born. 


Wednesday, January 8, 2014

Our Recently turned Two Year Old

On January first, 2014 our first born turned two years old. Seems crazy, but I like “most” of the things two has brought. Including his own little genuine personality, an understanding of what we are telling him to do (for the most part), and an independence that causes him to play more on his own. With this independence is a want of discovery which leads to the not so desirable traits, such as, not wanting to sit in a cart at the grocery store, or wanting to explore a resturant, and so on. I believe that just comes with the age, so I’ll take it. 


Any who back to his birthday. . .  we celebrated New Years Eve since that night the whole family was going to be together anyway. I attempted to make my first theme cake this year that went a lot easier than expected. I got the directions on how to do it here.

We love this little guy, and are so happy to have shared two years of his life with him. Can’t wait for what the next years bring.